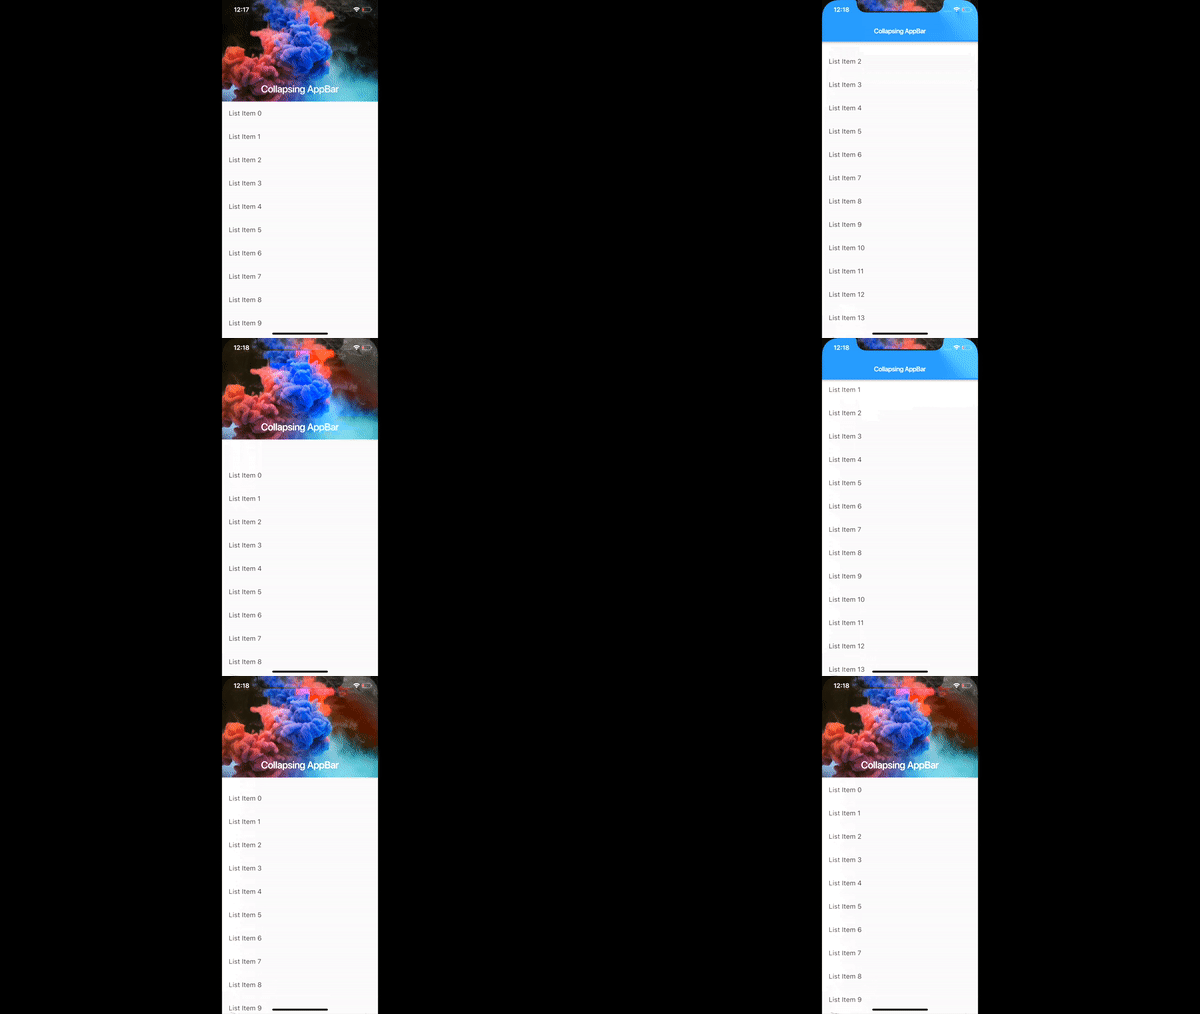
Here I will show two different ways to create collapsing AppBar in flutter.

Collapsable AppBar – Flutter
Watch Video Tutorial
Using NestedScrollView
 nested() {
    return NestedScrollView(
      headerSliverBuilder: (BuildContext context, bool innerBoxIsScrolled) {
        return <Widget>[
          SliverAppBar(
            expandedHeight: 200.0,
            floating: false,
            pinned: true,
            flexibleSpace: FlexibleSpaceBar(
              centerTitle: true,
              title: Text(
                "Collapsing AppBar",
                style: TextStyle(
                  color: Colors.white,
                  fontSize: 16.0,
                ),
              ),
              background: Image.asset(
                "images/parrot.jpg",
                fit: BoxFit.cover,
              ),
            ),
          )
        ];
      },
      body: Center(
        child: Text("The Parrot"),
      ),
    );
  }
I have the sample image parrot.jpg in the images folder and added to pubspec.yaml.
SliverAppBar expands to its expandedHeight when user scrolls the view below the AppBar.
Using CustomScrollView
custom() {
    return CustomScrollView(
      slivers: <Widget>[
        SliverAppBar(
          expandedHeight: 200.0,
          floating: false,
          pinned: true,
          flexibleSpace: FlexibleSpaceBar(
            centerTitle: true,
            title: Text(
              "Collapsing AppBar",
              style: TextStyle(
                color: Colors.white,
                fontSize: 16.0,
              ),
            ),
            background: Image.network(
              "https://images.pexels.com/photos/1020315/pexels-photo-1020315.jpeg?auto=compress&cs=tinysrgb&dpr=2&h=750&w=1260",
              fit: BoxFit.cover,
            ),
          ),
        ),
         SliverList(
          delegate: SliverChildBuilderDelegate(
            (context, index) => ListTile(
                  title: Text("List Item $index"),
                ),
          ),
        ),
      ],
    );
  }
Here we are using ‘CustomScrollView‘ instead of NestedScrollView to create the Scrolling effect.
Source Code
Get the complete source code from here.
Please leave your valuable comments below.
Thanks.